3D virtual tours: how to make your own
People use virtual tours to determine where they want to live, which hotel room they want to book, and which house they want to buy before ever setting foot inside the property.
You’ll need specialized software to generate 3D virtual tours if you want to do it yourself. We recommend always hiring someone professional to do it, but many tools are available to help you capture stunning 360-degree photographs.
However, if you are interested in learning to start your own business, we also have an article for that.

 Heads up! There is a lot of work in this process.
However, if you want to give it a chance, some of the top programs for making 3D virtual tours are as follows:
Choose your 3D Virtual Tour Platform.
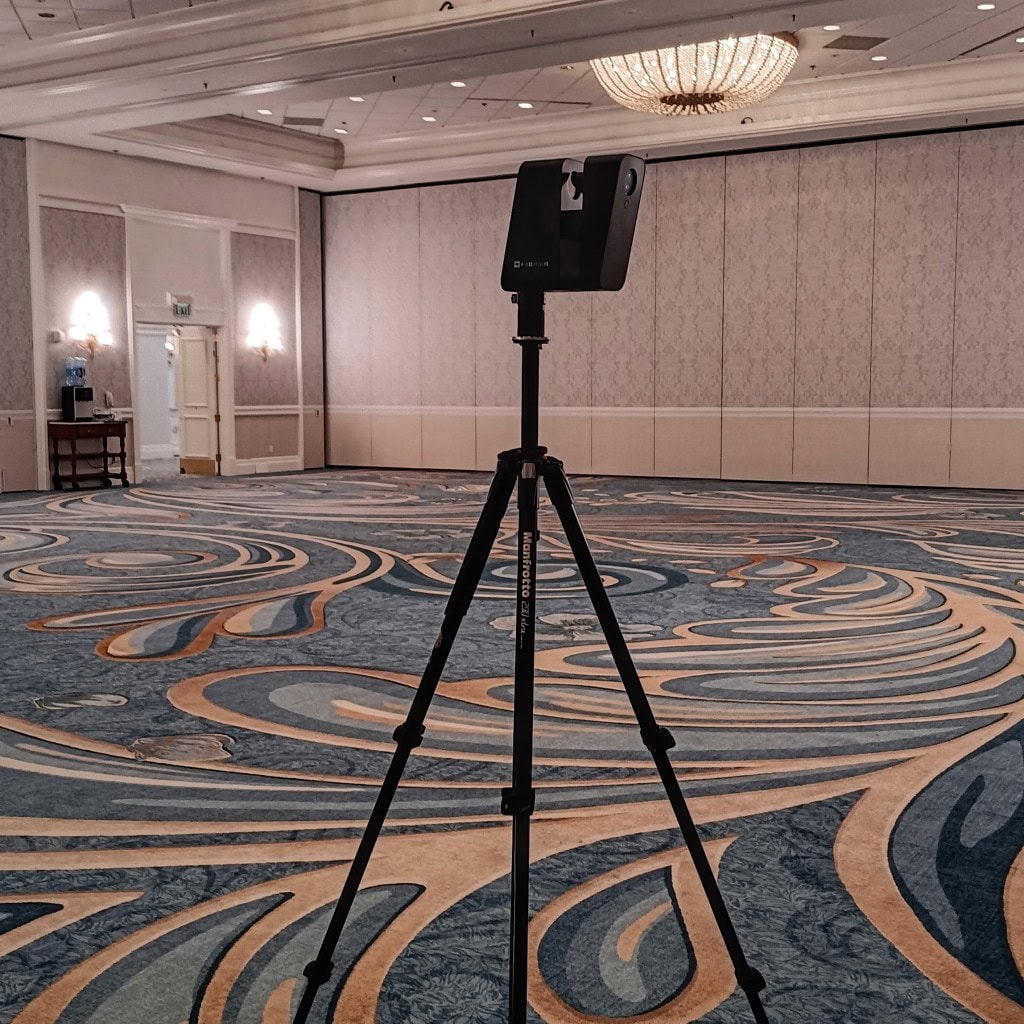
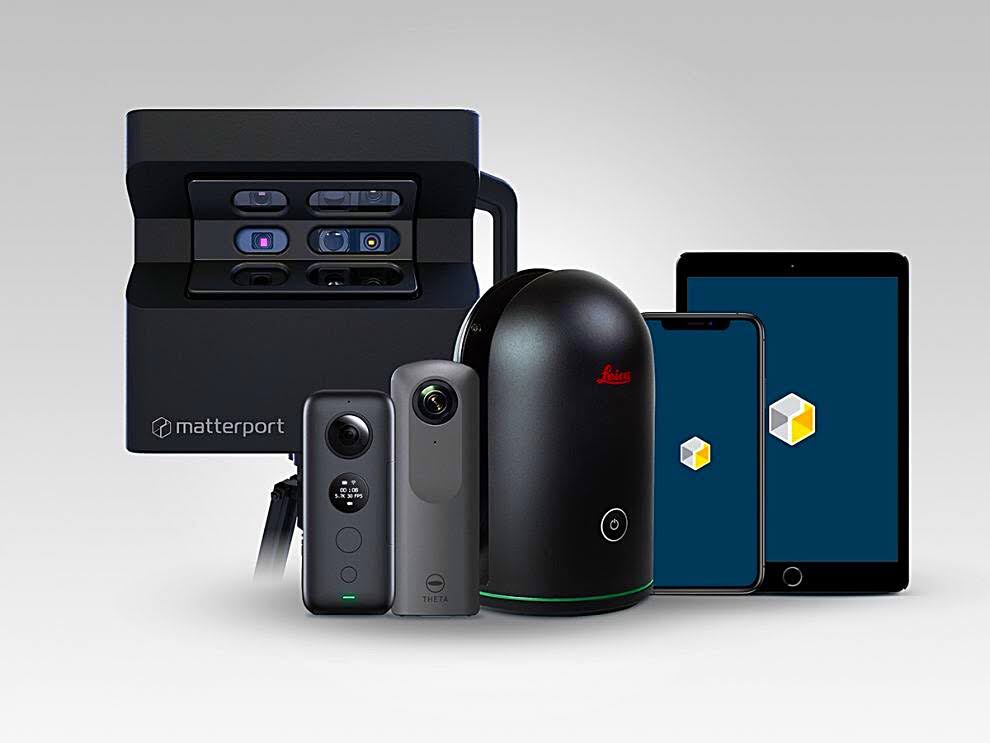
The first step is to choose the best 3D scanner for you. A photogrammetric scanner is the most frequent and easiest for novices to use among scanners. It collects hundreds or thousands of images from various angles around the object and then uses software to create a 3D model that can be placed nearly anywhere. The next step is to select a platform through which you will share your images with others. There are several viable options, including Matterport, which provides a free option for submitting VR content.
Some platforms charge per upload or have monthly costs, so do your homework before joining up and committing.
Here are some sample prices per popular platform.
Asteroom is $59 per tour. Ricoh costs around $45 a month, and Matterport’s most popular plan is $69 a month. Giraffe additional seat pricing begins at $250/month billed annually.
After you sign up for an account on the website of your choice, create a tour by selecting photos from your library or by scanning new ones using your chosen platform. Once finished, follow their instructions on how to publish to their site.

Find the right equipment to create a 3D Virtual Tour
Android and smartphone cameras can work if you use a tripod and set the timer. Try to position your phone vertically rather than horizontally.
Some people even use their tablets as cameras! Just don’t forget the tripod. You can download an app or two to take panoramic shots or 3D pictures and videos. You can also buy dedicated equipment, like a 360-degree video rig, for about $400–600.
These may be more difficult for beginners, but they do offer more versatility in what you can do with the footage later on in editing software. These devices will capture all angles of the scene at once and not require stitching together several shots in post-production.
Set up your camera to make 3D Virtual Tours.
Method 1: Google Street View Tours
1) Make sure you have the latest version of Google Street View on a device that has the necessary hardware (e.g., a newer model iPhone).
2) Download the Google Street View app on your device.
3) Open up the app and tap “Create a new tour.” A screen will pop up, asking you what kind of place you want to see first. You can either choose one from a list or type in an address manually.
4) Once you’ve chosen a destination, press Next and wait for the Street View car icon with an arrow to show up on your map.
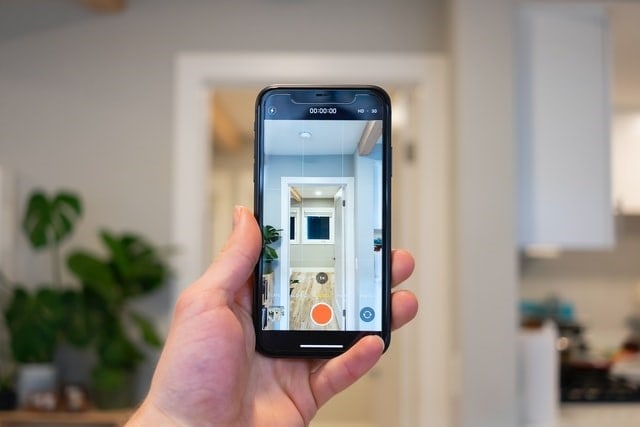
5) Take your camera phone and point it at where you would like to take a photo.
6) Tap the capture button once you’re ready to take a picture.
7) If you happen to be taking pictures near something cool, like, say, a statue, just make sure not to zoom in too much before taking the picture so it doesn’t look blurry when viewing it later.
8) After finishing capturing all the photos for this location, press Finish in the right-hand corner of your screen and move to another spot nearby!
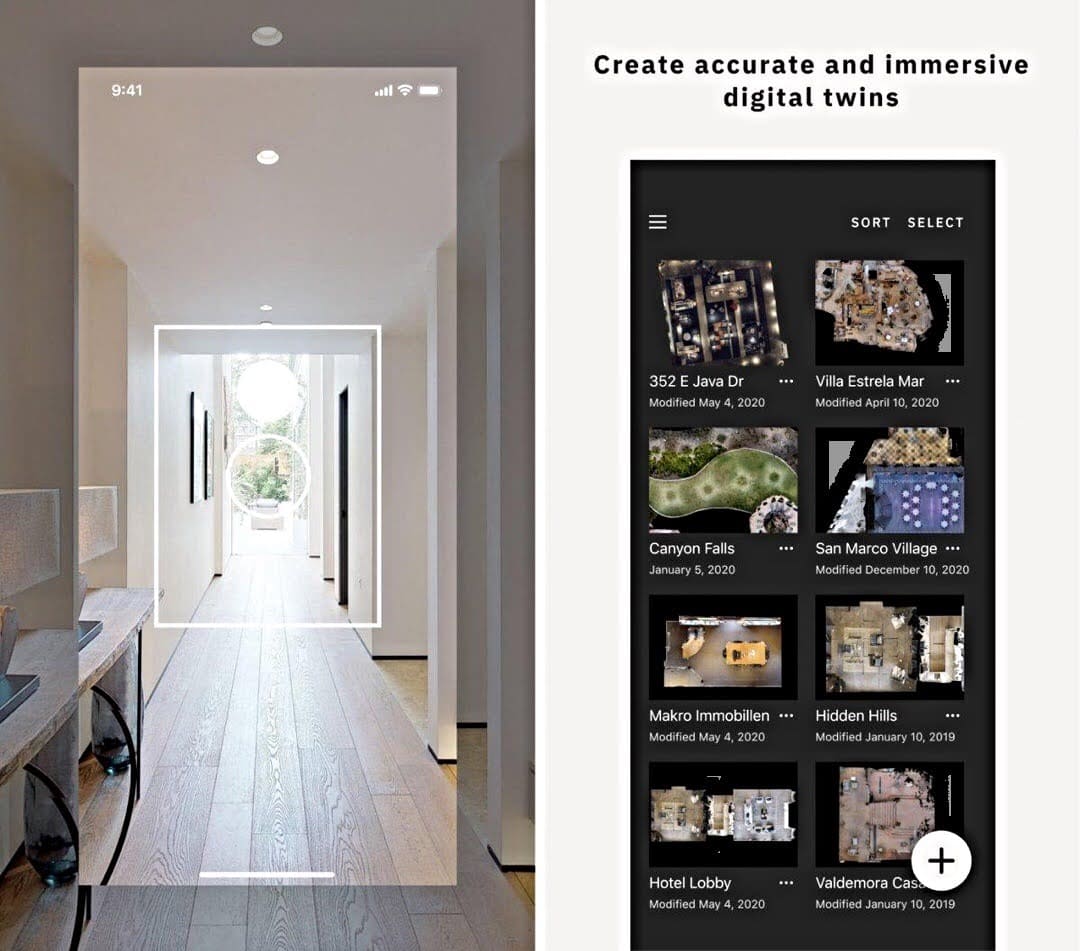
- Download the Zillow 3D Home Tours App.
- Open the App, Login, and Tap “Start Capture.”
- Select the Room You want to Capture.
- Capture Your Panorama.
- Review Your 360° Photos.
- Repeat Steps 3-5.
- Publish Your Virtual Tour.

How to make your own 3D virtual tours
Shoot your 3D Virtual Tour
It’s not difficult to shoot a tour, but we suggest hiring an expert to do it. Why? Because an expert can use their experience to get the best quality shots and because they know how to set up the camera so it won’t show in the pictures.
Moreover, you’ll also need to have a lot of patience for this type of project. The more photographs you take, the better.
If you’re using a DSLR with interchangeable lenses, be sure to take both wide-angle and zoom shots so that you’ll have all different views of each room when editing later on.
To make sure everything is captured properly, it is important to plan out your route first by walking through the space one or two times with your camera equipment before actually shooting anything.
The whole point of making a 3D virtual tour is to capture every detail, so be sure not to skip any corners or hallways while photographing! Make sure you get images from each direction as well as from high and low angles too. Once you’re done shooting, return home and import all the photos into your computer for editing!
Wait, there is still more!
Edit your 3D Virtual Tour
It’s not difficult, but we suggest hiring an expert to do it. Here’s how to do it yourself.
1) Use a camera or scanner to capture images of each room or area of the house that you want to include in the tour.
2) Edit and crop the photos using any graphics program, such as Adobe Illustrator, Photoshop, InDesign, CorelDraw, Inkscape, Microsoft Paint, and Paint. Net.
3) Import the edited photos into one big image using Adobe Illustrator, Photoshop, etc., and then cut out a rectangular space for each photo with a graphics editing program such as Photoshop, etc., so that you can use these photos as hotspots within the larger 3-dimensional space created by all of them together.
4) The next step is to import your single large picture into the platform of your choice. The whole process takes about 20 minutes if you are experienced enough with graphic design programs.
Share your tour

3D tours can be shared on social media, via emails, on websites, etc. They are a great way for people to experience a place before actually going there. 3D tours can also be used as a marketing tool for businesses and real estate agents. If you’re interested in learning to create one of these yourself, keep reading!
1) To start with, you will need the following equipment: A camera (a DSLR or GoPro works well); a tripod (any sturdy tripod should do); software (like Adobe Photoshop or Lightroom); and some editing knowledge (optional).
2) The first thing you need to do is set up your scene. This means taking photos from different angles of what you want the tour viewer to see. Think about what makes this location interesting and unique. For example, if you have a room full of books, take multiple pictures from different angles so that viewers can get an idea of the space without having to physically enter it.
2b) Next, take your photos into post-processing software, where you edit them by adding effects like lighting, color correction, and contrast adjustments. When done processing, select which ones look best together and upload them onto a website like Giphy or Flickr, where they can be shared easily online. You may also want to include things like links back to your blog, website, or social media accounts in case people want more information on the location they just saw through the virtual tour.
Conclusion
We suggest hiring an expert to do the 3D virtual tours for you. This will save you time and money, but if you want to give it a shot yourself, here are some important things to consider. First, find all of the photos that you would like on the tour.
Then look at the metadata (title, description, and location) of each photo. You’ll need to know these details later when they’re put into Lightroom or Photoshop as layers to create a cohesive tour.
Also take note of any items that are captured in more than one photo, like furniture or other objects that should be aligned between shots. Keep this list handy as well, because this is how you can align them in post-production without actually being there with a camera angle.
1 Comment.
[…] be surprised at how easy it can be to create a basic 3D virtual […]